

How to Verify Vintage Band Tees: 9 Checks That Work
Table of Contents
- Why Vintage Band Tee Verification Matters
- Start With the Tag: Copyright Dates and Licensing Info
- Single Stitch vs Double Stitch Vintage Tees: What the Hem Tells You
- How to Date Vintage T-Shirts: A Step-by-Step Walkthrough
- Screen Print Techniques: Plastisol Ink, Print Texture, and Graphic Cracking
- Construction Clues: Neckline Construction, Hemline, and Seam Integrity
- Fabric, Weight, and the Smell Test: Cotton Blend, Dry Rot, and Chemical Odors
- Spotting Artificial Aging and Distressing
- What to Ignore: Bad Advice That Fools New Collectors
- Frequently Asked Questions
Last Updated: September 21, 2026
Why Vintage Band Tee Verification Matters
Learning how to verify vintage band tees protects your money and your collection. Reprints and fakes flood the market, and most look convincing in photos. This guide from AuthentiKickz breaks down the nine checks that separate a real 1980s tour shirt from a modern copy.

The stakes are simple. A true vintage tee carries history, a specific print method, and construction details that factories no longer use. A fake carries none of that.
So how do you spot the difference? You check the tag, the stitching, the print, and the fabric, in that order.
Below, we'll walk through each check with real examples. You'll also learn which popular "rules" actually fail.
Start With the Tag: Copyright Dates and Licensing Info
The tag is your first and best clue. A genuine vintage band tee usually shows a copyright date, a licensing line, or a manufacturer name printed directly on the label.

Look for these details:
- A copyright symbol with a year (© 1987, for example)
- A licensing company name, like "Licensed to [brand]"
- A manufacturer tag sewn in separately
- A country of origin printed on the label
Reproduction shirts often skip these details or print them in the wrong font.
Reading a Faded Tag Without Damaging It
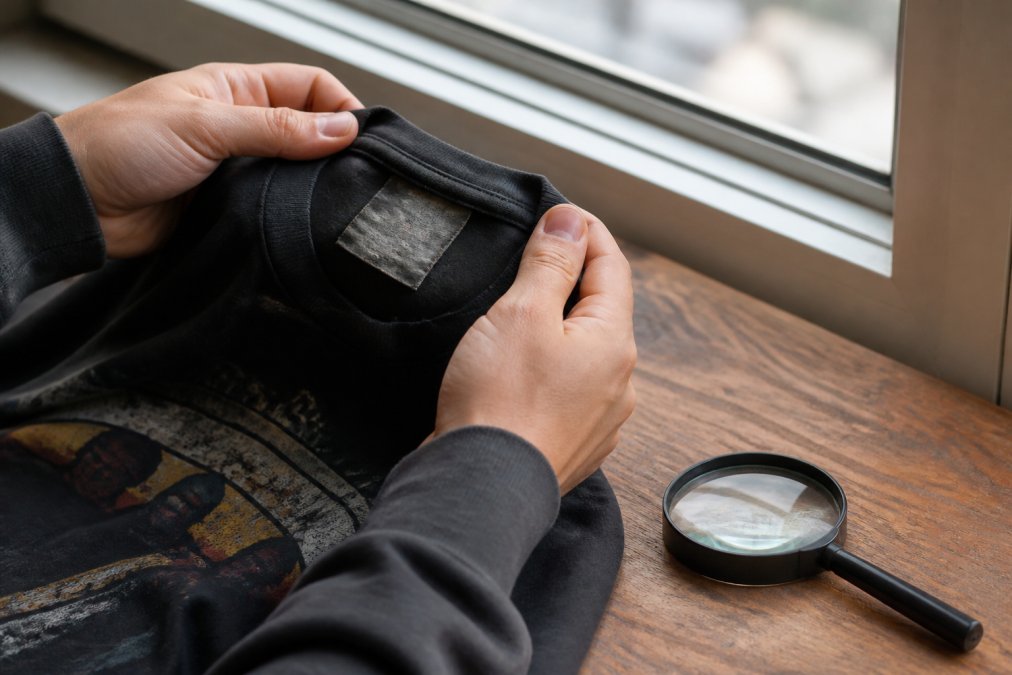
Faded tags still hold answers. Hold the shirt up to a window or a lamp. Natural backlight makes worn ink readable without rubbing the fabric.
Try these steps:
- Place the tag flat against a light source
- Angle the fabric slowly until the print catches the light
- Photograph the tag with your phone's flash off
- Zoom in on the photo instead of your eyes
Never scrub or wet a vintage tag. You'll destroy the print and the value.
Single Stitch vs Double Stitch Vintage Tees: What the Hem Tells You
The single stitch vs double stitch vintage debate comes down to one simple fact: true vintage tees use a single row of stitching at the hem and sleeves. Modern shirts almost always use a double row.
Here's why it matters. Single-stitch machines were standard before the 1990s. When factories switched to double-stitch equipment, the look changed. A "vintage" shirt with double stitching is usually a reprint.
Check these spots:
- Sleeve hems
- Bottom hem
- The seam where the collar meets the body
Flip the shirt inside out to see the stitch line clearly.
How to Date Vintage T-Shirts: A Step-by-Step Walkthrough
Dating a shirt means stacking clues, not trusting one detail. A tag, a stitch line, and a print method together tell a clearer story than any single check.
Follow this order:
- Read the tag for a copyright year
- Check the hem for single or double stitching
- Inspect the print texture and cracking
- Look at the collar construction
- Feel the fabric weight and blend
- Note any smell or stiffness in the cotton
Each clue narrows the window. Two or three matching clues give you a confident date.
The Counterfeit Evolution Timeline
Fakes have changed over time, and so have the tells. Early bootlegs from the 1990s often used cheap single-stitch blanks, which now look "correct" by accident.
Modern reproductions are smarter. Many copy single stitching on purpose. That's why you can't rely on one check alone. The U.S. Copyright Office records can help confirm when a design was first registered.
Screen Print Techniques: Plastisol Ink, Print Texture, and Graphic Cracking
Real vintage prints use plastisol ink, and that ink behaves in a specific way over decades. Understanding why it behaves that way is what separates a confident call from a guess.
Plastisol is a suspension of PVC particles in a plasticizer. It doesn't dry the way water-based ink does, it cures under heat, and the plasticizer stays in the film permanently. That's why a cured plastisol print feels like a flexible rubber skin sitting on top of the cotton rather than a dye soaked into it. Over years of washing, the plasticizer slowly migrates and the film loses elasticity. When the cotton underneath flexes and the ink film can't stretch with it, the print cracks.
That mechanism produces a signature look:
- Spider-web cracking, fine, branching lines that follow the weave of the fabric, not the shape of the graphic
- A raised, rubbery hand, the print sits proud of the shirt surface and feels slightly tacky even decades later
- Fade that tracks the folds, ink thins where the shirt creased in storage or wear, not evenly across the graphic
- A matte, chalky surface, cured plastisol loses its initial gloss as the plasticizer migrates
Why Mesh Count and Curing Temperature Matter
Two production variables drive how a print ages. Mesh count is the number of threads per inch in the screen. A 110-mesh screen lays down a thick, opaque deposit, common on bold 1980s tour graphics. A 230-mesh screen lays down a thin, detailed deposit, common on finer 1990s designs. A high-mesh print that looks thick and plasticky is a mismatch worth flagging.
Curing temperature is the second variable. Plastisol needs to reach roughly 320°F across the entire ink film (Best Practices to Ensure Proper Ink Curing with 4 Curing Methods). Under-cured ink stays soft and eventually flakes off in patches rather than cracking. Over-cured ink yellows and turns brittle. A vintage print that shows uniform yellowing across the whole graphic, with no cracking, is more likely over-cured than aged.
How Modern Fakes Fake Cracking
Reproduction printers know buyers look for cracking, so they simulate it. Three methods show up most often:
- Mechanical distressing, the print is pressed with a textured plate or run through a roller. The cracks are uniform in width and run in parallel lines rather than branching.
- Chemical cracking, a solvent is applied to stress the ink film. The cracks look right but the surrounding ink stays glossy, which real age never does.
- Digital print with a crack overlay, direct-to-garment or DTG output with a printed crack pattern. Zoom in and the cracks have soft, pixelated edges instead of sharp ink-film fractures.
The Smell Test for Print Freshness
This is the check most guides skip. Fresh plastisol outgasses plasticizer for weeks after curing. A shirt printed recently, even one that's been distressed to look old, often carries a sharp, sweet, plasticky smell when you bring the graphic close to your nose. A genuinely aged print has lost almost all of that volatile content. What's left is usually the faint musty or neutral scent of stored cotton.
Cup the graphic in both hands, breathe warm air onto it for a few seconds, then smell. Heat releases residual plasticizer. If the print smells like a new shower curtain, the ink is young regardless of what the tag says.
A Quick Print Checklist
- Run a fingertip across the graphic, soft and worn-in, not slick and uniform
- Tilt the shirt under a lamp, real cracks catch light at their edges
- Check crack direction, following the fabric weave, not the graphic outline
- Smell the warmed print, old cotton, not new plastic
- Compare mesh-to-design, thick deposit on a fine-line graphic is a mismatch
If you'd rather skip the guesswork, AuthentiKickz authenticates and grades every piece in-house before it ships. That includes band tees, everyday streetwear, and kids' pieces across the full size range.

Construction Clues: Neckline Construction, Hemline, and Seam Integrity
Necklines and seams tell you how a shirt was built, not just how it looks. Vintage tees often use a tubular knit body with no side seams. Modern blanks usually have side seams.
Check these construction points:
- Tubular knit: no side seams running down the body
- Merrowed edge: a stitched, wrapped edge on older collars
- Neckline construction: single-stitch or double-stitch collar attachment
- Seam integrity: even, tight stitching with no loose threads
A "vintage" shirt with clean side seams and a modern collar is usually a reproduction.
Fabric, Weight, and the Smell Test: Cotton Blend, Dry Rot, and Chemical Odors
Fabric weight and smell can confirm or kill a deal in seconds, but only if you know what you're actually measuring. Most guides stop at "older tees feel heavier." Here's the mechanism behind that feel, plus two sensory tests almost no other guide covers.
Why Vintage Cotton Feels Different
Older band tees were knit on machines that produced a different yarn structure than modern blanks. Two factors drive the difference:
- Ring-spun vs. open-end yarn. Vintage blanks were typically ring-spun, which aligns fibers parallel to the yarn axis and produces a smoother, denser hand. Many modern budget blanks use open-end (rotor-spun) yarn, which traps more air and feels lighter and fuzzier.
- Lower yarn count, higher fabric weight. A 1980s tour tee often runs 5.5 to 6.5 oz per square yard. Many contemporary blanks sit between 4.0 and 5.0 oz. The vintage shirt feels sturdier because there's simply more cotton per square inch, not because the cotton itself is different.
That's also why "heavy fabric always means old" fails. Some modern streetwear blanks are deliberately knit at 6.5 oz or higher. Weight alone is a weak signal; weight combined with yarn structure and stitch type is a strong one.
Microscopic Fiber Analysis Without a Microscope
You don't need lab equipment to tell natural from synthetic fiber degradation. You need a bright light and a close look at a worn edge, a collar rib, a hem fold, or a small hole.
- Cotton breaks into short, frayed fibers with fuzzy, tapered ends. Under strong light the broken edge looks soft and slightly translucent.
- Polyester and other synthetics break into smooth, rounded filaments that look like tiny plastic threads. The broken ends stay glossy and don't fray.
- Blends show both, fuzzy cotton fibers mixed with slick synthetic filaments poking out of the same edge.
A shirt labeled 100% cotton that shows slick, unfrayed filaments at a worn edge is either mislabeled or a modern blend dressed up as vintage. This is the single fastest fiber-level check you can run in a thrift aisle.
The Smell Test: Musty Cotton vs. Fresh Ink
Aged cotton smells like aged cotton. That scent, often described as musty, dusty, or like an old book, comes from the slow oxidation of cellulose and the trace organic compounds left behind by decades of storage. It's faint and it lives in the fabric, not on the surface.
Modern screen printing ink smells different. Fresh plastisol outgasses plasticizer for weeks after curing, producing a sharp, sweet, plasticky note. A shirt that smells like a new shower curtain is young ink, no matter how faded the tag looks.
How to run the test:
- Cup the graphic in both hands and breathe warm air onto it for a few seconds.
- Smell immediately. Heat releases residual plasticizer from fresh ink.
- Then smell the body of the shirt away from the print. Aged cotton smells musty or neutral; fresh cotton smells like nothing or like detergent.
- A shirt that smells strongly of perfume or fabric softener is often being masked, treat heavy fragrance as a caution flag, not a selling point.
Dry Rot: What It Is and How to Check for It
Dry rot isn't rot at all. It's the result of cotton fibers losing moisture and tensile strength over decades, usually accelerated by heat, UV light, or repeated washing. The fibers don't decay, they embrittle.
Check for it by gently tugging a fold or a seam allowance. Healthy vintage cotton gives slightly and springs back. Dry-rotted cotton tears with almost no resistance and the torn edge looks powdery or chalky. Pay closest attention to stress points: underarm seams, the collar-to-shoulder join, and the bottom hem.
Dry rot is a real condition issue, not a fake signal. A shirt can be genuinely vintage and still be too fragile to wear. If the fabric tears under light tension, factor that into whether it's a display piece or a wearable one.
A Quick Fabric Checklist
- Weigh the shirt in hand, dense and substantial, not light and airy
- Check a worn edge under bright light, fuzzy cotton fibers, not slick filaments
- Breathe on the print and smell, old cotton, not new plastic
- Tug a fold gently, gives and springs back, doesn't tear or crumble
- Sniff the body away from the print, musty or neutral, not heavily perfumed
Textile preservation guidance from the Smithsonian offers useful context on how natural fibers age over time.
Spotting Artificial Aging and Distressing
Fake distressing is one of the easiest tells to catch once you know what to look for. Real wear happens unevenly, based on how a person moved and washed the shirt.
Look for these differences:
- Real fading follows natural folds and creases
- Fake distressing looks even, random, or too aggressive
- Real holes have frayed, softened edges
- Fake holes have sharp, clean cuts
Some sellers use sandpaper, bleach, or acid washes to fake age. The result usually looks too uniform.
What to Ignore: Bad Advice That Fools New Collectors
Plenty of popular tips sound smart but fail in practice. Relying on any single check, like stitching alone, leads to bad calls.
Ignore these common myths:
- "Single stitch always means vintage" (fakes copy it now)
- "A faded tag always means authentic" (fakes fade tags too)
- "Heavy fabric always means old" (some modern blanks are heavy)
- "No cracking means fake" (some real prints hold up well)
Use the full checklist, not one shortcut.
If you'd rather skip the guesswork, AuthentiKickz authenticates and grades every piece in-house before it ships. That includes band tees, everyday streetwear, and kids' pieces across the full size range.
Frequently Asked Questions
What are the signs of an authentic vintage band tee?
Look for a faded or cracked copyright line on the tag, single stitch hems on tees made before the mid-1990s, and a graphic with a soft, worn print texture rather than a rubbery plastic feel. Check the neckline for a merrowed edge or tubular knit body with no side seams on older shirts. Licensing info like an official band estate or label name should match the era the graphic claims to be from.
How can you tell if a band shirt tag is fake?
Fake tags often have crisp, bright printing that does not match the shirt's age, misspelled brand names, or a copyright date that is later than the graphic's original release. Compare the tag's font and layout to known examples from that era. A tag that looks brand new on a shirt with heavy distressing is a red flag. Label verification should always match the fabric weight and construction of the rest of the garment.
Do all vintage band tees have single-stitch hems?
No. Single stitch was common on tees made before the mid-1990s, but not every vintage shirt used it. Some brands switched to double stitch earlier, and some used single stitch into the late 1990s on certain runs. Use the hem as one data point, not the only one. Combine it with tag copyright dates, print texture, and fabric feel before you decide a shirt is authentic.
How do I check the copyright date on a vintage band shirt?
Turn the shirt inside out and look at the interior neck tag. Most licensed band tees print a copyright line with a year, like 1992 or 1994. Cross-check that date against the band's tour history or album release. If the copyright year is later than the graphic's original artwork, you may be looking at a reproduction. Faded tags can be read under bright light or with a phone camera zoom.
Verifying vintage band tees takes patience, but the checks above do the heavy lifting. You don't need a lab, just a light source, a careful eye, and a consistent process.
If you'd rather buy with confidence, AuthentiKickz inspects, cleans, and grades every item before it ships, with honest photos and fast tracked shipping. Shop now and build your fit with pieces you can trust.